
22nd January 2019:
A few months ago, I had an idea- wouldn’t it be brilliant to have an office in the garden? Insulated with electric, wifi, all the mod cons? A place where, in the summer when writing schemes of work or preparing for September I can hide away and work and read- open the doors straight into the garden? Sounds bliss. A place where all of my books and resources are at my fingertips? A music room? Maybe one day I could become one of those people who work entirely from their shed— well, it’ll hopefully be a bit more than a shed.
So a few months ago, I decided I’m going to plan, save for and build this thing myself- from scratch. I’ve done hours of research, watched numerous YouTube videos, learnt about foundations, breathable membrane and cedar cladding and now I’m ready. To buy, these offices would cost between £8,000-£12,000. I don’t have that sort of money.
At the moment, I’m aiming for something that costs around £2000, and endless Tracy hours! A bit of ambition never hurt anybody!

So, now the funds are looking a little more healthy, I’ve started to purchase some of the materials. I’m doing the usual Delboy job here, looking for how I can get things cheaper without scrimping on the quality (Shpock, Gumtree and Ebay are firm favourites, or just stopping by places if you notice things in skips/ being generally charming- it’s worth a schmooze when you’ve got a vision!). I’ve been to a timber yard and had the wood priced up and have recently been lucky enough to stumble on some gems via eBay.
I had costed around £200 for a window and around the same for second hand double UPVC doors… I wasn’t too worried about the size as I plan to build the timber frame around this. This week has been a hugely successful one- managed to pick up a great window (only 6 months old) for £49.00.
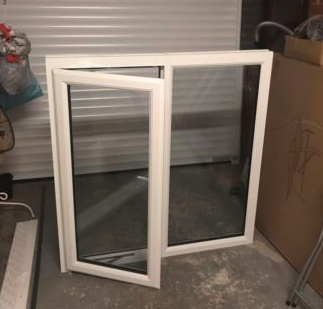
Also, scouting around Gumtree on Sunday evening, I found a great set of white UPVC double doors (the lady, Mary, let these go for a very very generous £70.00– which is so far under what I was expecting to pay). My awesome delivery men, Kev and Simon went to collect these for me today. A few more weeks of saving required before the build can begin!


Will update soon on latest progress!
6th February 2019
The funds are continuing to grow for the project– I’ve saved birthday and Christmas money to help it all come to fruition. I’ve been amazed by the generosity of people when I’ve shared my ideas for the office build. The saying ‘it’s not what you know, but who you know’ really is true… a colleague at work has a husband who runs building sites– I asked on the off chance that he may have access to some off cuts of Tyvek Housewrap. This stuff is quite expensive, but is needed as a breathable membrane in between the OSB board and the cedar cladding on the outside of the building. I was amazed when she came into work and said ‘ I’ve got a present for you’. Here it was, 100m of housewrap for the price of 4 bottles of Peroni.
Brilliant!
This and the windows/ doors saving have helped me get the project started sooner than I had anticipated. Just waiting for the ground to thaw now!

February Half Term: Monday 18th- Friday 22nd February
I had been willing for Feb half term to arrive for all sorts of reasons- it’s a long half term following Christmas: mock exams to mark, stressed students to console! After a successful half term of teaching, this holiday presented a great opportunity to get started on the foundations of the office build (ahead of the Easter schedule!). I had done hours and hours (no exaggeration!) worth of research for this- days of trawling internet sites, learning about insulation, the best wood to use, the difficulties and the potential costs– a special mention must go to the YouTube videos of Ali Dymock (you can subscribe to his brilliant channel here) who takes you through a process like this step-by-step and in great detail. Following his advice, I had created sketches and a little prototype building out of cardboard.
There are so many useful videos about wall framing online, too… the information is definitely there, if you search for long enough! Again, I don’t claim to be an expert with any of this, but it really has been such an exciting journey so far.
The weather was good for February half term, so we could get cracking. I had drafted in my wonderful OH to help me with this and the additional help has been absolutely brilliant and well-needed!
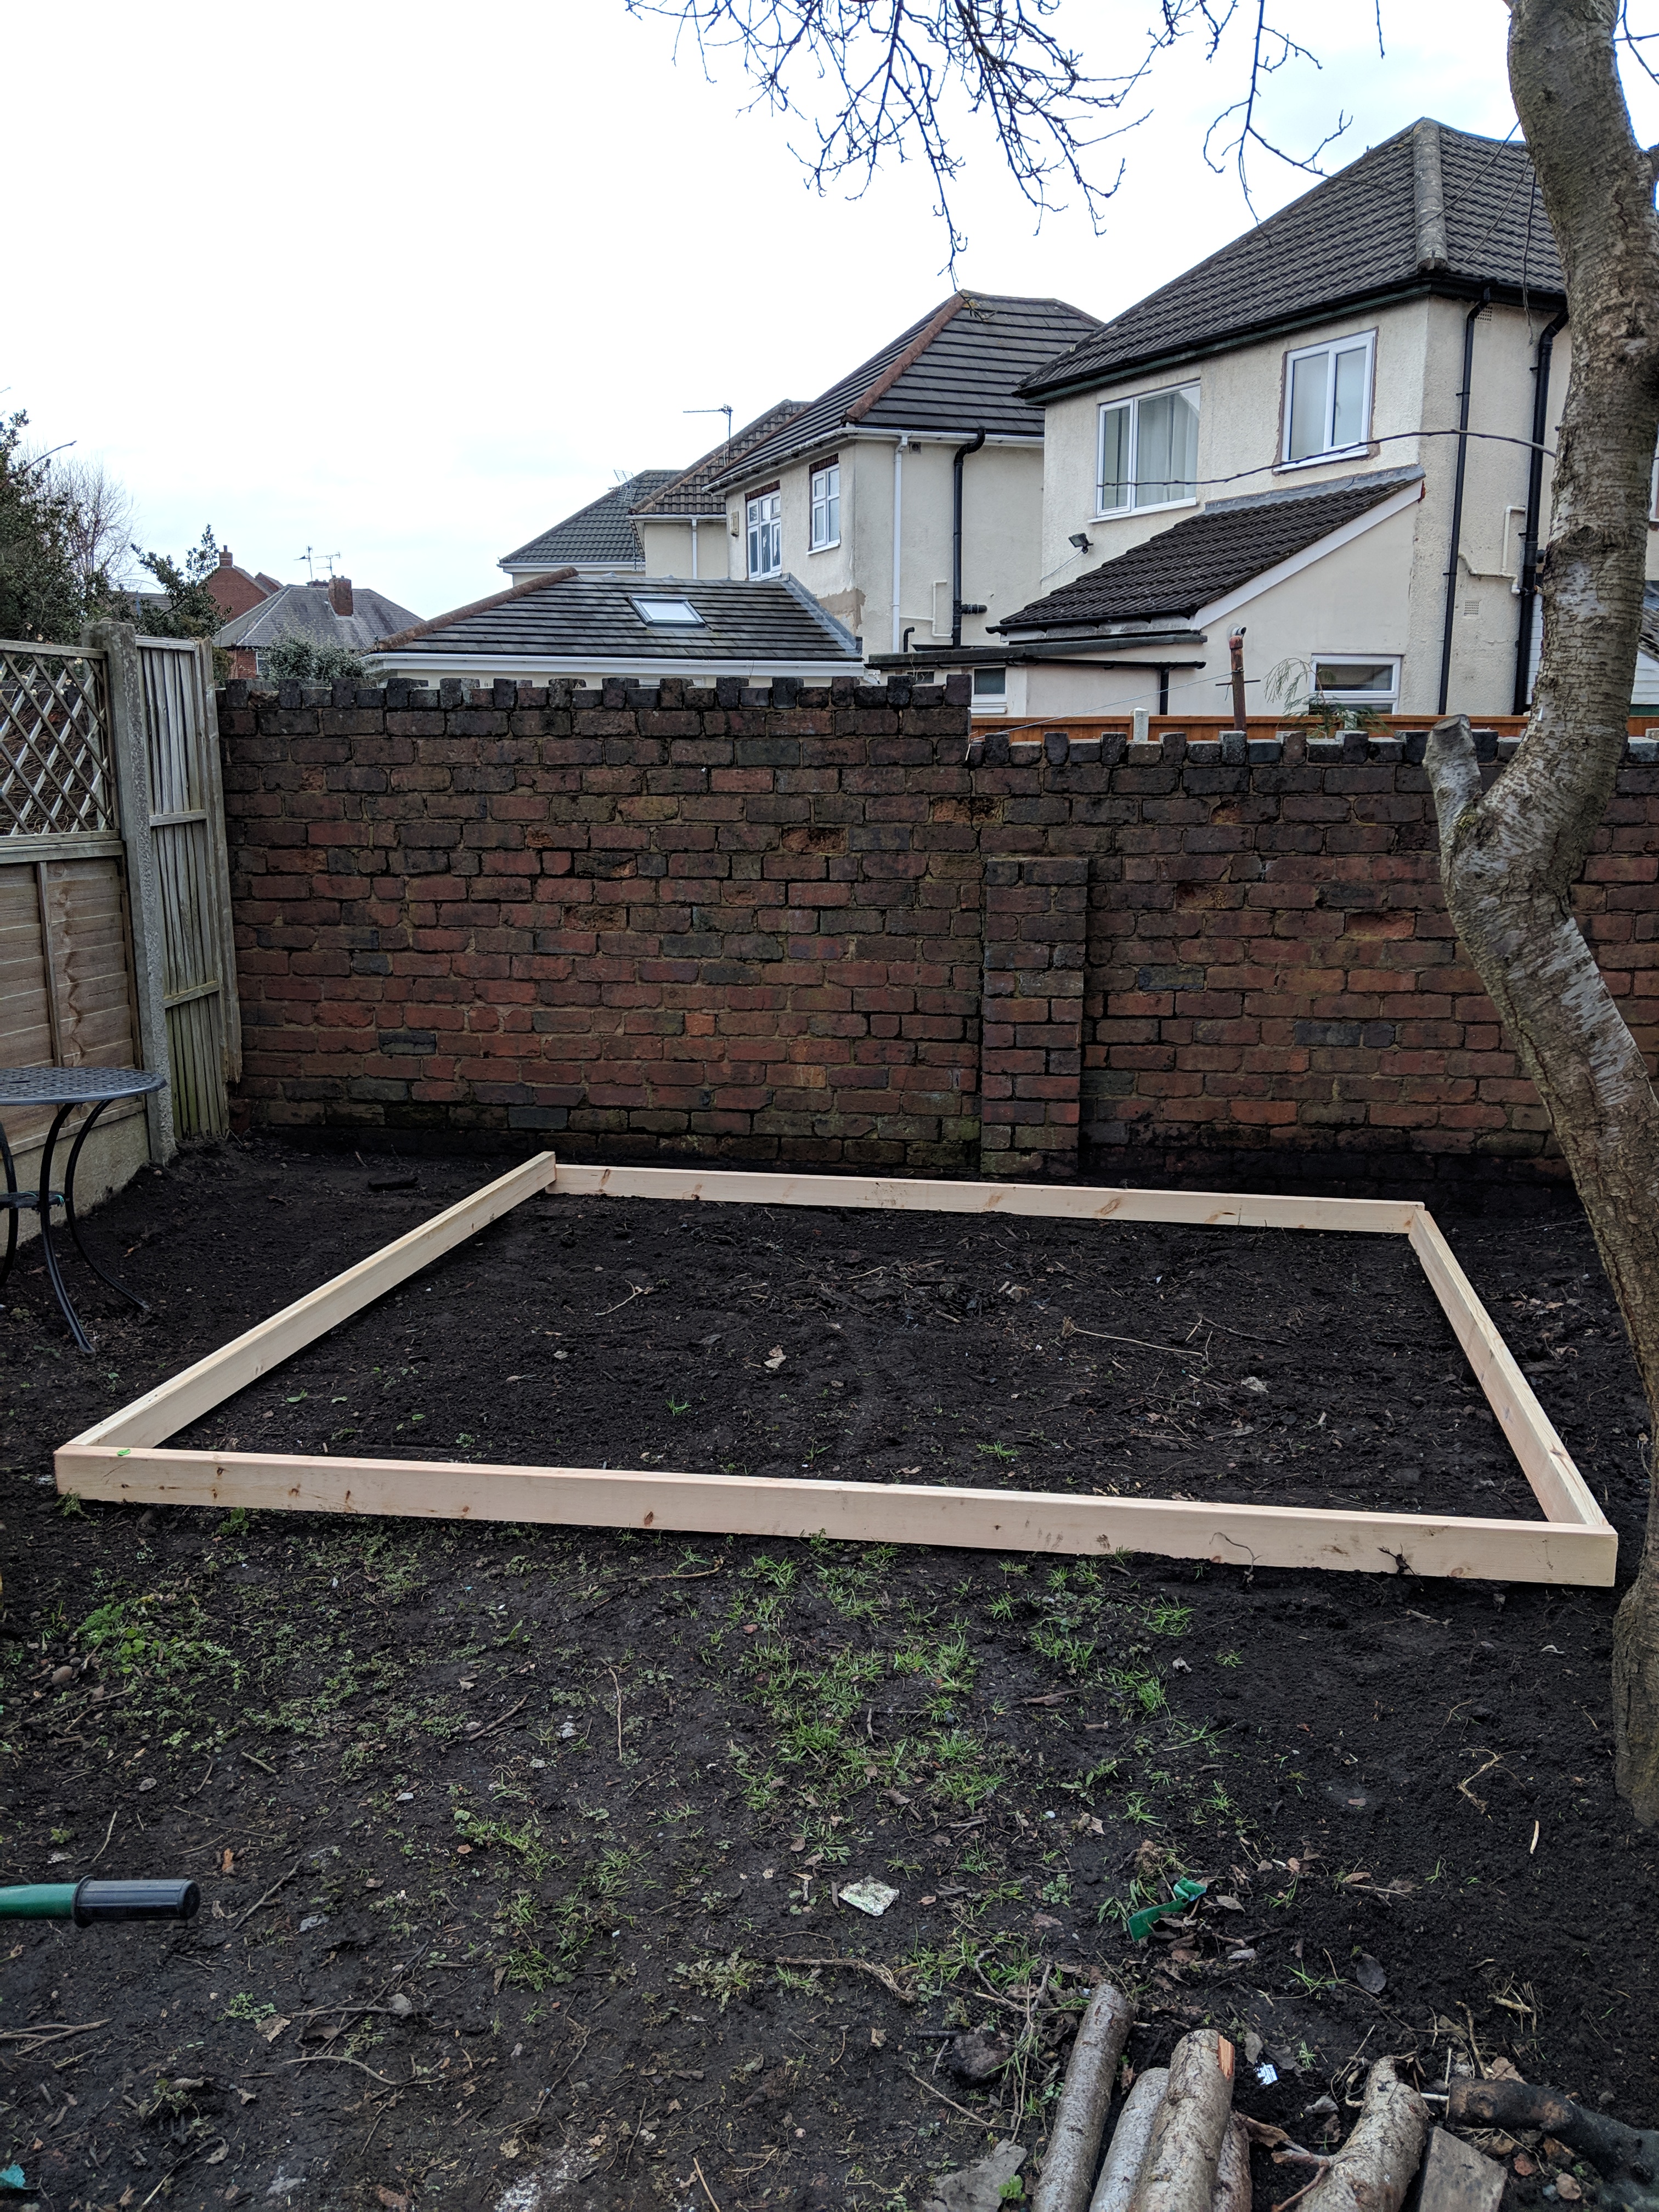
Once the frame had been set out, it was time to construct a frame and decide where the concrete blocks would sit. I decided to create a pier to avoid too much concrete work. For this, we dug out holes big enough for the dense concrete blocks to sit, and rested them on some crushed bricks, sand and hardcore and then concreted these in place. The hardest thing was ensuring that they were level (a bit of a headache, but worth taking the extra time to get right).

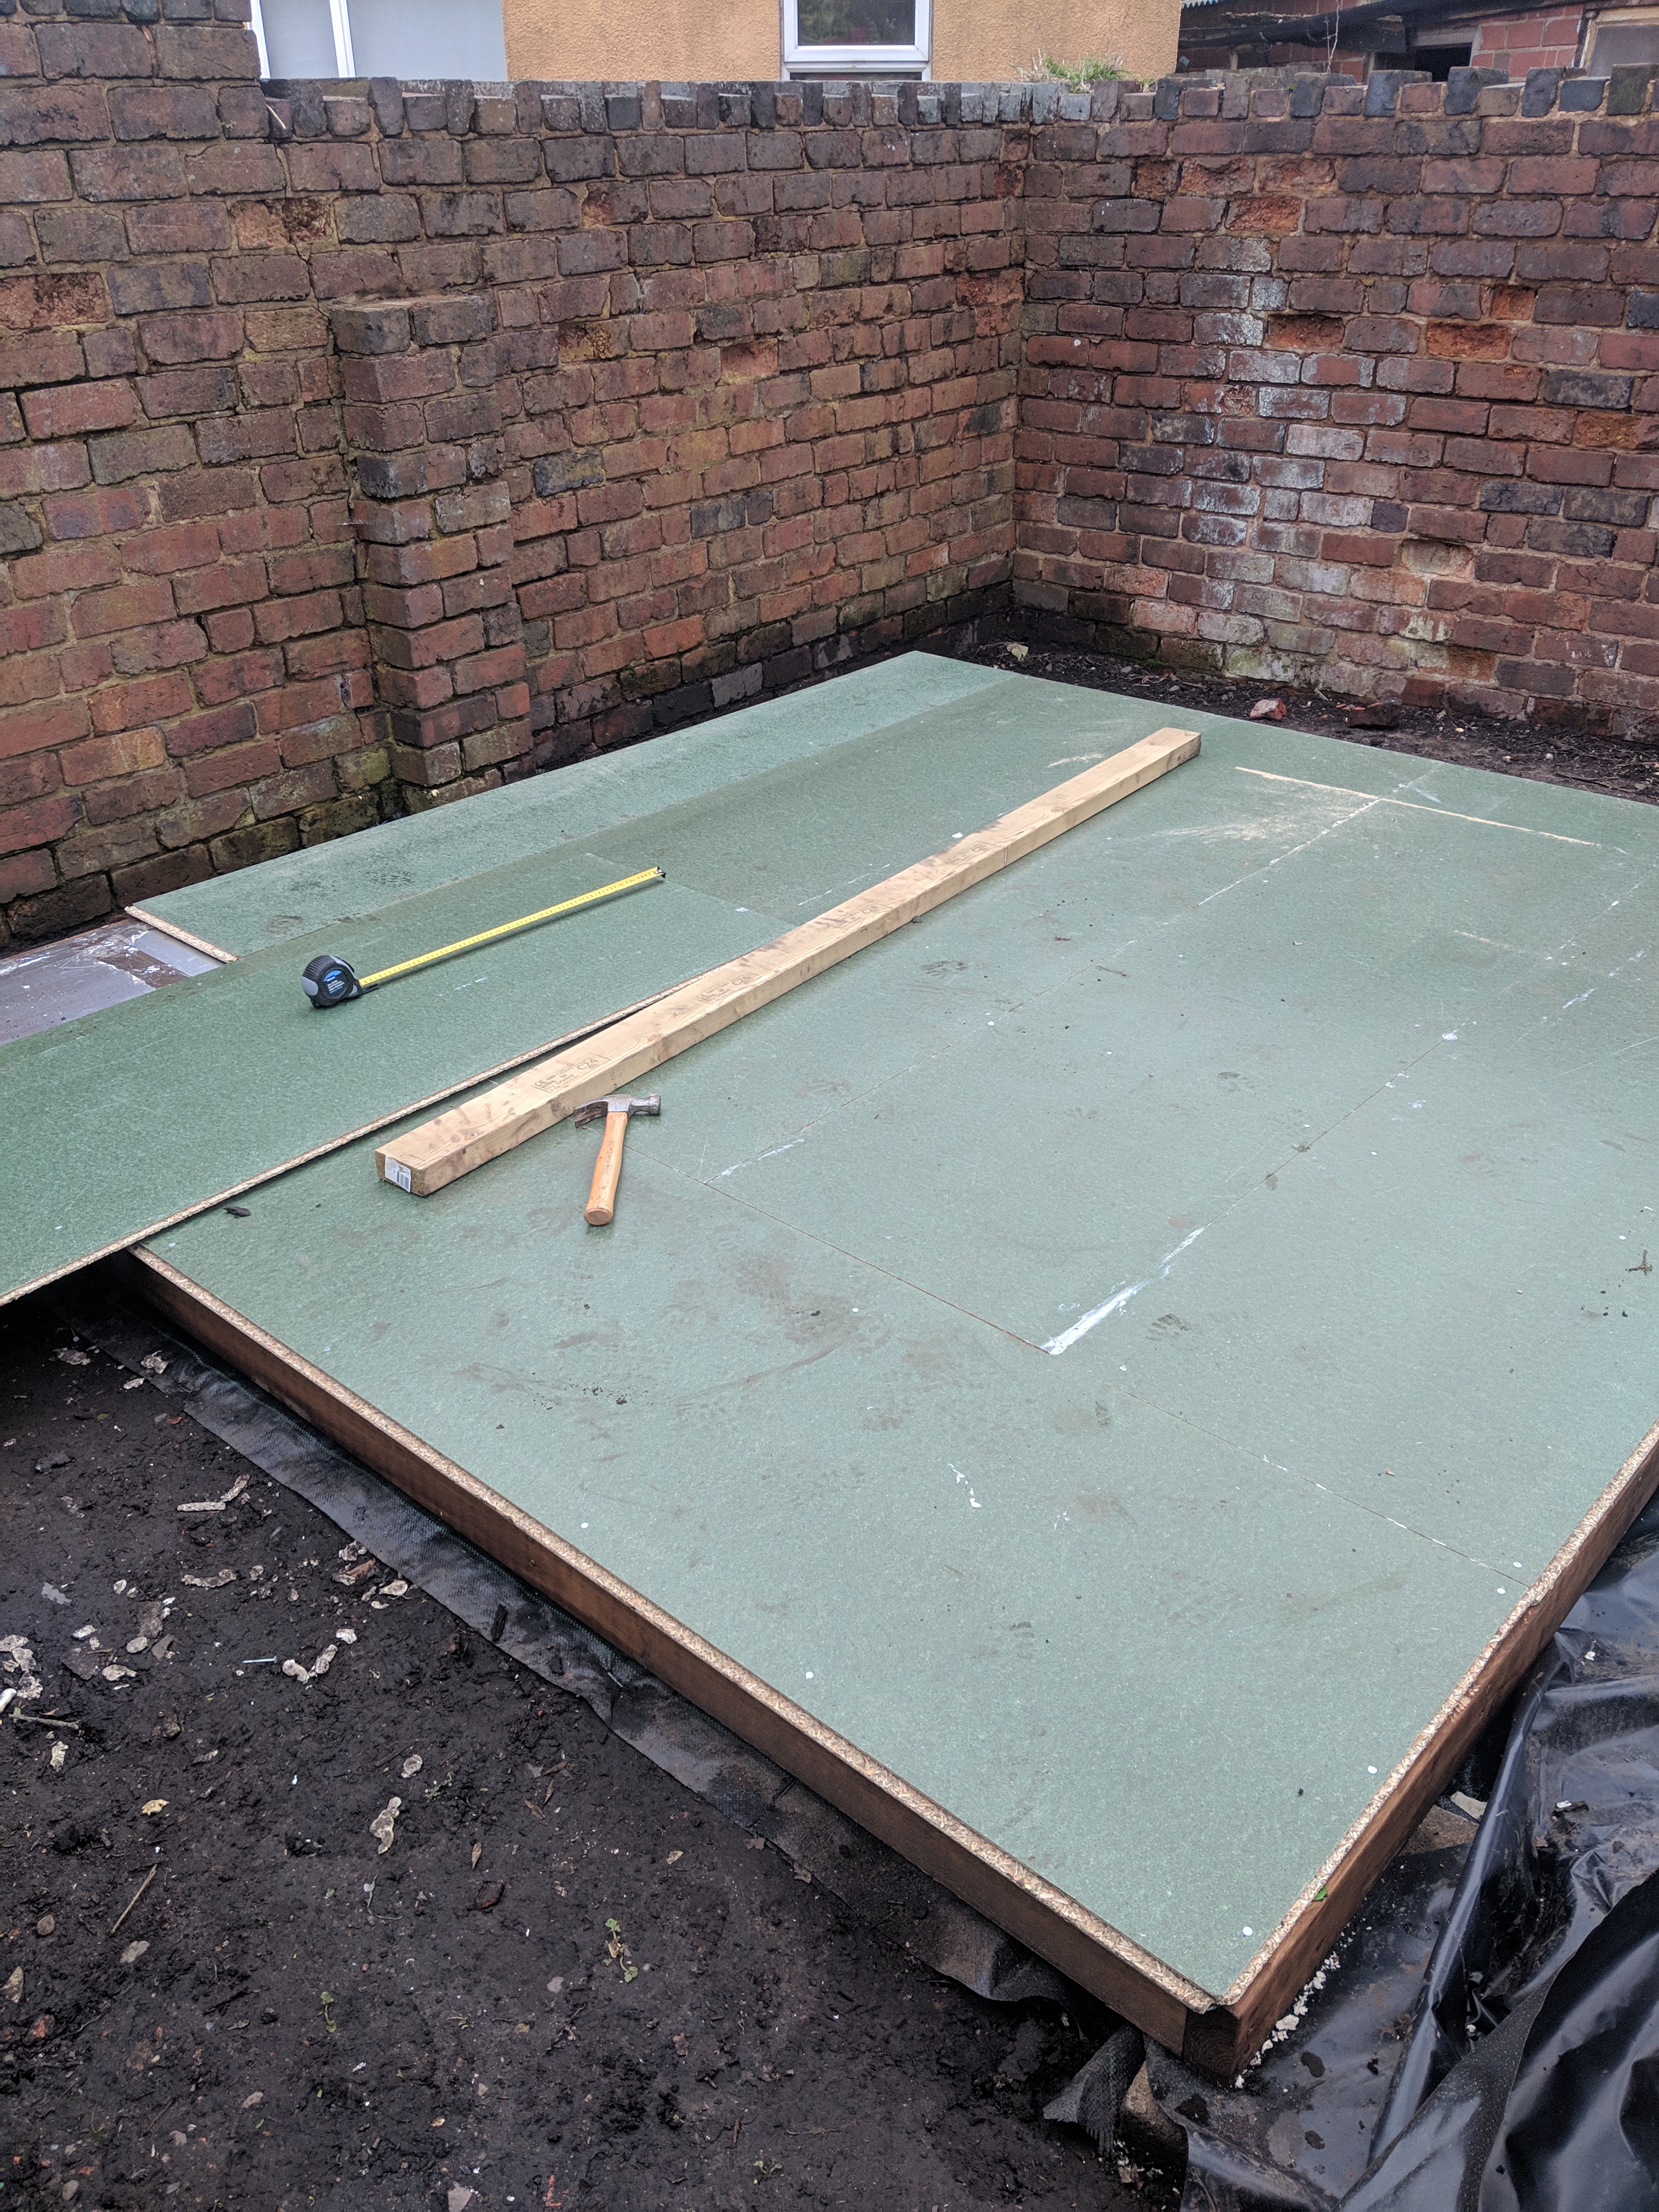
Once we were satisfied that all was in place, it was time to construct the frame for the flooring. First, we laid a weed control membrane under the frame and cut out squares for the concrete blocks. The frame was then constructed, with joists positioned 16″ apart and then noggins were placed to support them and to prevent too much movement. On Youtube, I had seen a recommendation for people to place a square of DPM (Damp proof membrane) between the wooden frame and the concrete pads so that water runs off them easily.

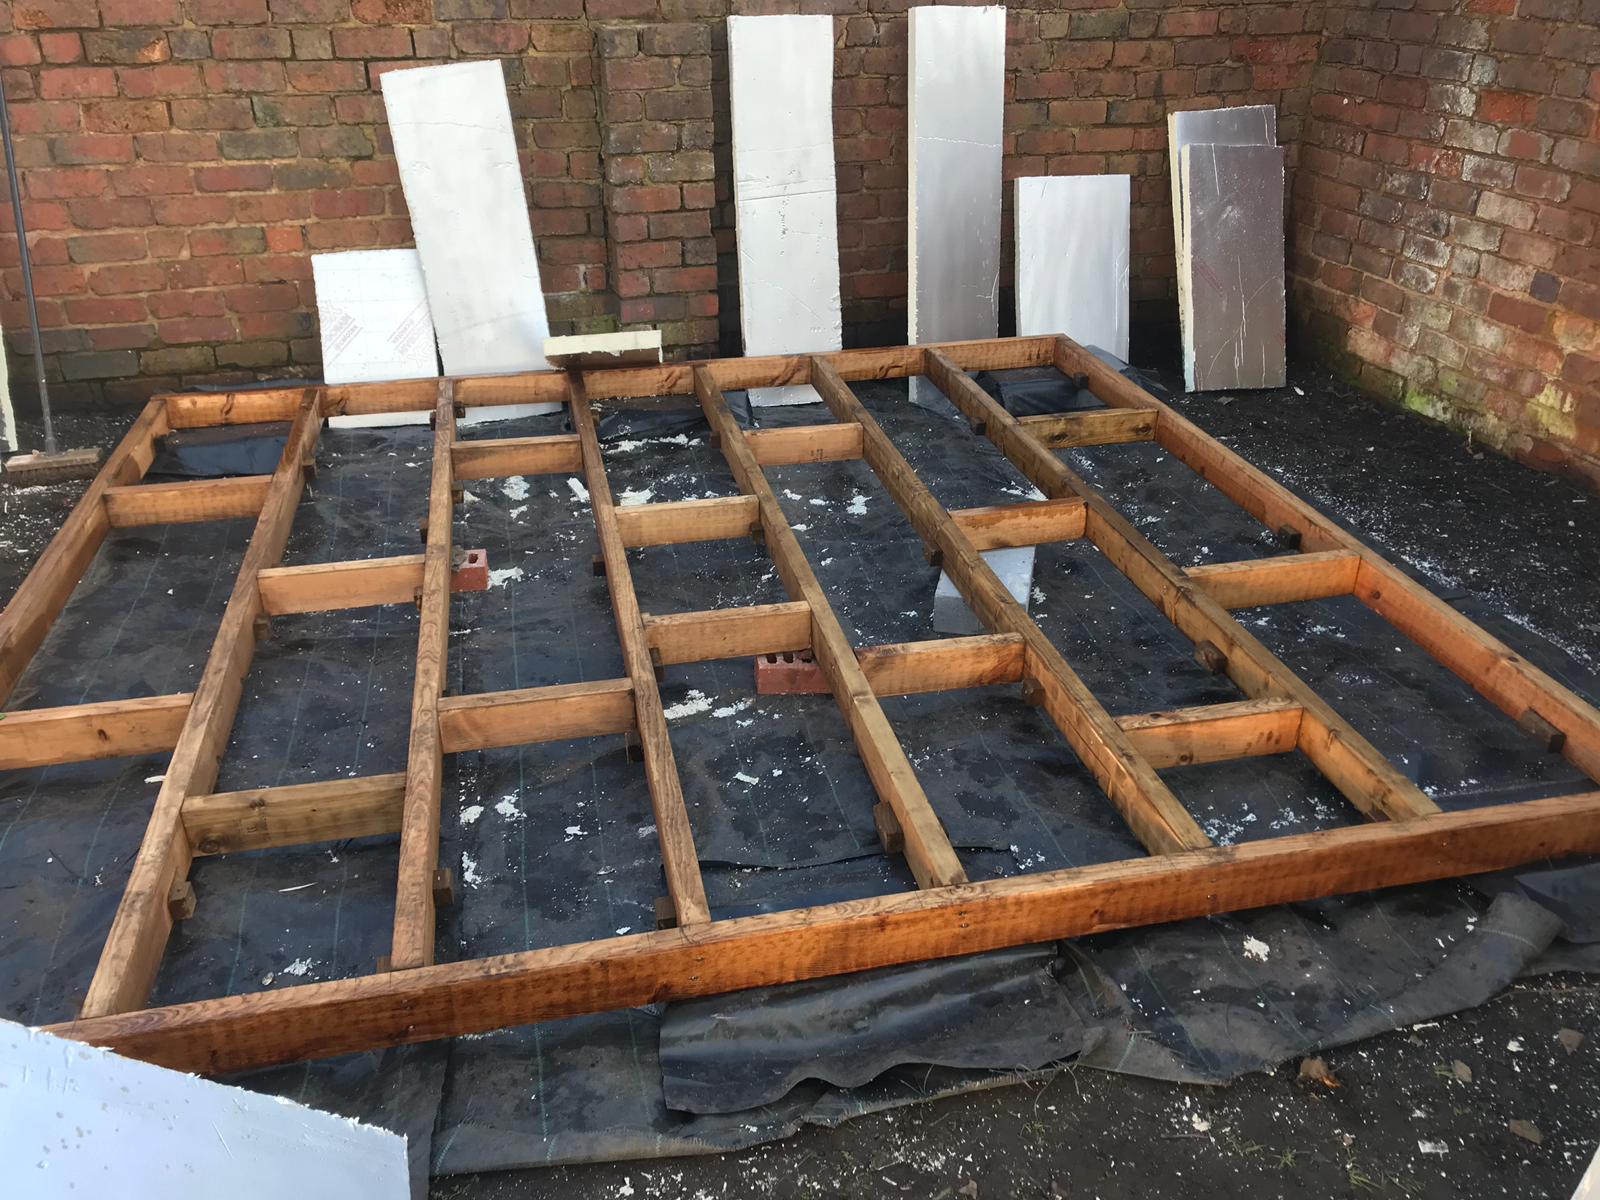
The Celotex boards were cut to size and I created a simple jig to help position bits of wood to prevent the Celotex boards from falling through the bottom of the frame.


Once this had been done, the small gaps between the Celotex boards and the wood were filled with expanding foam. This helped to seal the floor and to ensure no nasties ( water, creepie crawlies etc) could get through. After this, all joints were taped using foil insulation tape.

This had taken around 3 days- this was a little longer than expected due to extra trips down to Toolstation/ waiting for wood/ Celotex deliveries etc. Due to windows taking space in the garage, it’s difficult to store new materials.
Sunday 10th March 2019
The final wood order arrived this weekend (the forecast had said it would be cloudy, I hadn’t expected snow showers!). I’ve managed to squeeze it into the garage for now.
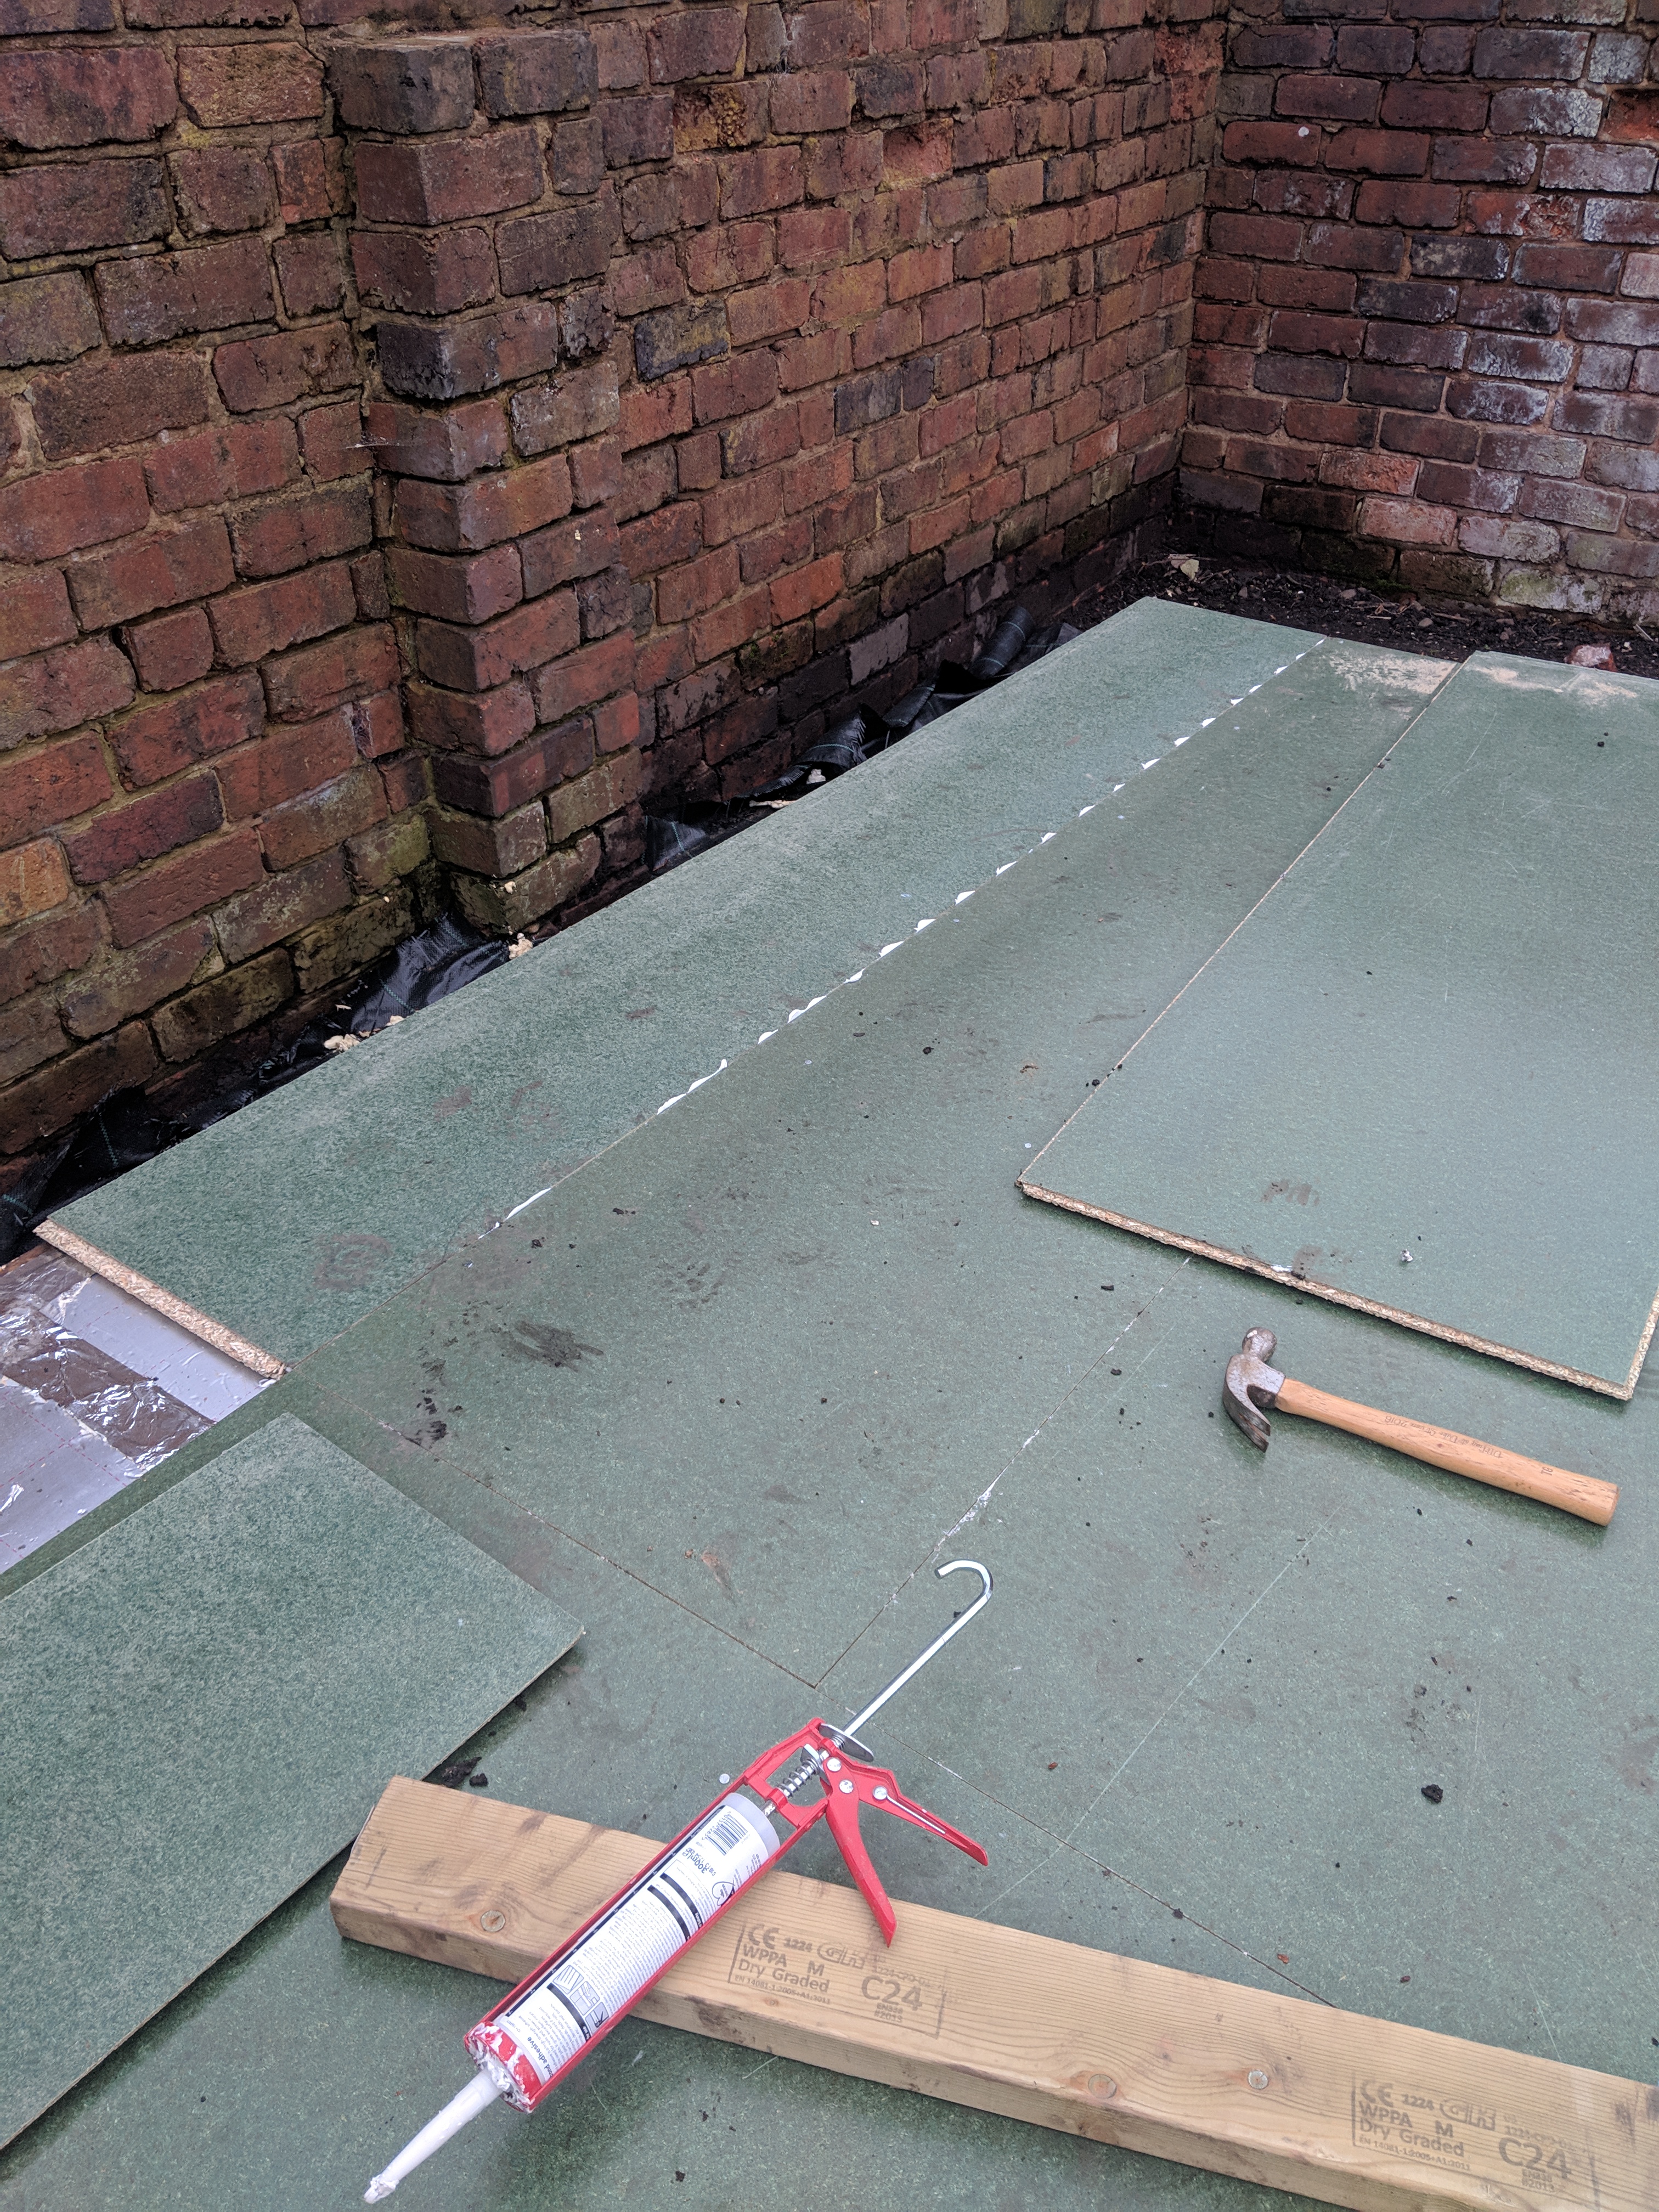
With the wood safely stored for now, I have finally glued and nailed the flooring to the base. This was a little fiddly due to the tongue and groove system (and the boards were a little challenging for me to carry and move), but we got there in the end. As I discovered on various YouTube videos, it’s a good idea to apply construction adhesive to the edges so that the boards are firmly held together. I used a spare piece of timber to knock the edges of these to ensure they were consistent. I used nails to attach the boards to the base.
Having roughly measured the height of the building with the new timber, I became concerned that it may go over the legal limit for permitted developments. I hadn’t considered, when building the base, how far it had actually been raised from ground level. I double checked the regulations and the building should be no more than 2.5m from ground level, so I hadn’t accounted for the 20cm (from ground to top of the base).
This has felt like it’s put a slight spanner in the works- the doors I have purchased are bigger than average (measuring in at around 212cm, including the frame). My brother-in-law is an army-qualified carpenter so he came to the rescue over WhatsApp.
I’ve had to make some slight amendments to the original drawings. The redesign has meant a slight change to the shape of the roof (the joists will now need to be notched — not sure if that’s the right lingo– so as not to go beyond 2.5m) and will need to rest on the same piece of timber that is supporting the top of the door. I was concerned I wouldn’t be able to fit a lintel over the door, so one piece of timber will have to do the job. The weight above the door isn’t too significant and I’ve been reassured that it won’t cause a problem (yikes!).
I started to frame the first wall today which will house the door, but sadly the weather beat me! I’m hoping to continue on the wall next weekend- weather permitting!
Saturday 24th March 2019
Woah! The weather has been glorious the last couple of days and so we’ve taken advantage and managed to get outside to build. As you can see from the previous entry, the wood had been delivered so all that was needed was a good run at it.
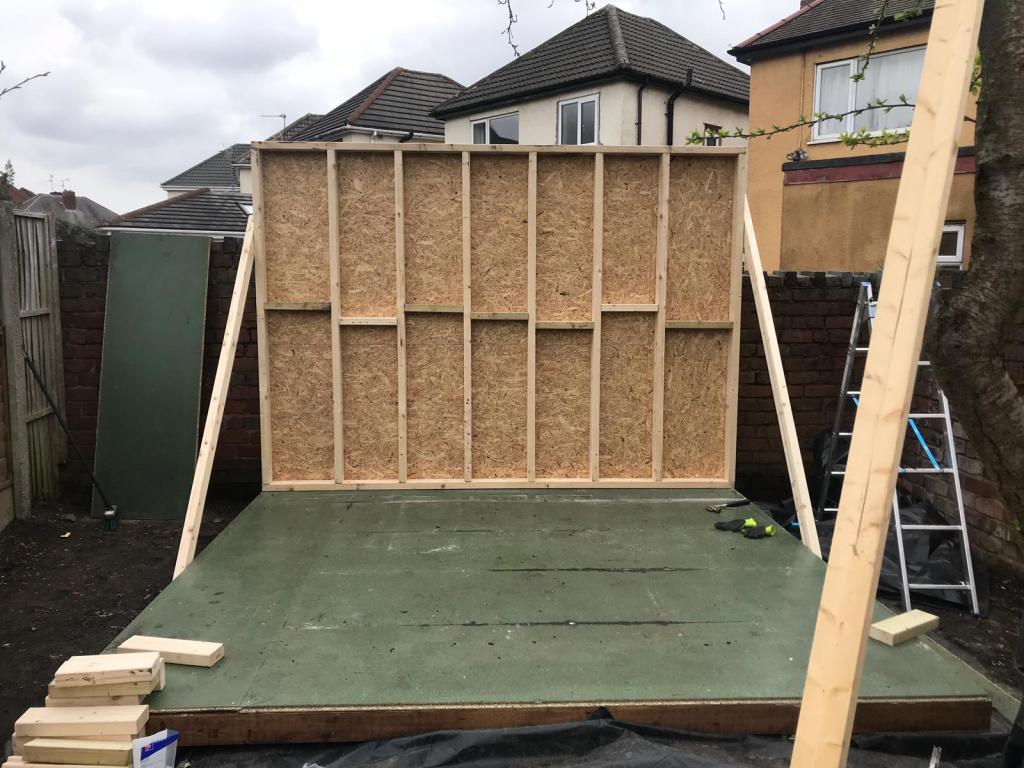
The first wall was constructed (around 5cm lower than the front wall to allow rainwater to fall from the roof). The whole structure was covered with OSB board which helps to brace the wall. As you can see, the struts are inserted at around 16″ with supporting noggins that are offset slightly to allow for easy screwing in/ nailing. The walls were secured with screws through the flooring and then temporary braces added at the sides to support.
Then, the construction on the second wall began- I decided to build this at the same height as the back wall (I am going to fill the gaps at the top of the walls once the building is up, using Celotex and foam).

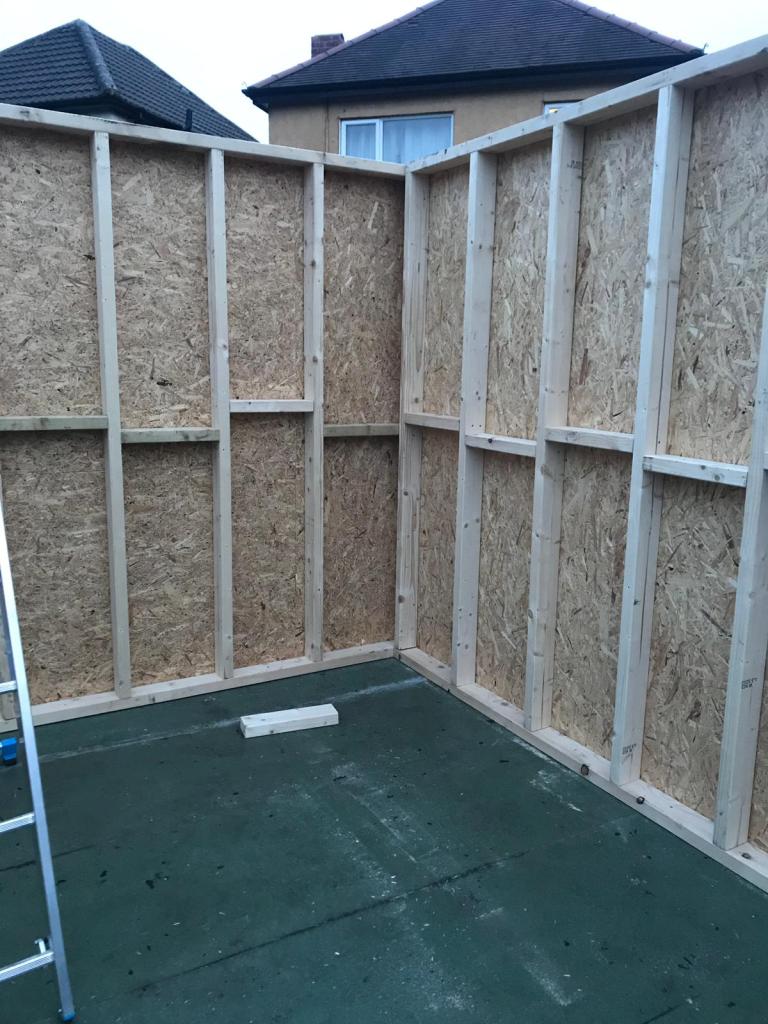
The wall was screwed into the floor and attached to the previous wall through screwing together the final struts. Again, these were braced (there were occasional gusts and I didn’t trust the walls just yet!)
The third wall was slightly more complex as it needed to be framed to fit a large window and windowsill. The struts needed to be doubled up around the window and I made a little lintel to support the window at the top (this was simply two 4×2 pieces turned sideways). Then, all noggins and support was added as usual and OSB board added to the edges.

The front wall had to be constructed stood up which was a challenge. As with the third wall, the door frame has been doubled up with two 4x2s.
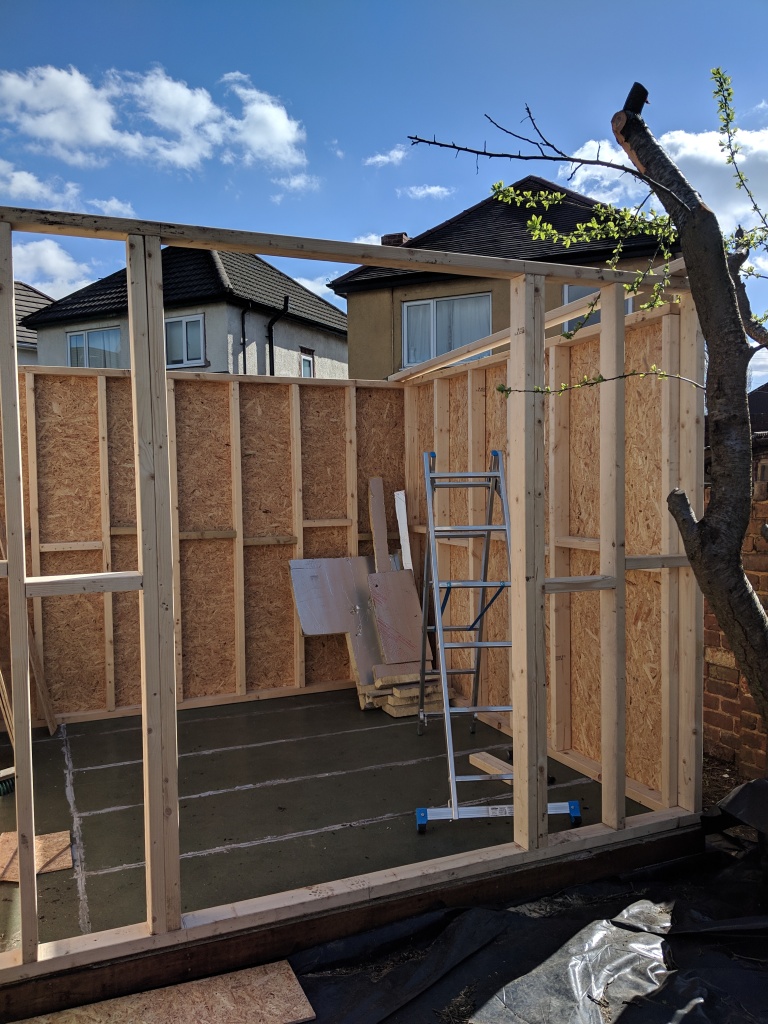
We then ran out of OSB– so had to pause to waterproof the building. This is just an old sheet of DPM that was left behind from some other garden work.

So, it’s be a long weekend at it but I was hoping to be at this position at the end of the April, so am pleased that we are ahead of schedule!
Thank you to all readers who were directed here from www.shedworking.co.uk
I love the website and it’s been an invaluable source of information during the research and planning.
Be back with another update soon! Now… some books to mark!
Saturday 6th April 2019
So, I haven’t updated for a little while– last weekend was a busy one, finishing the roof joists and fitting the UPVC windows and doors. The first job was to finish the OSB sheathing around the edge of the building and to put the OSB onto the roof.

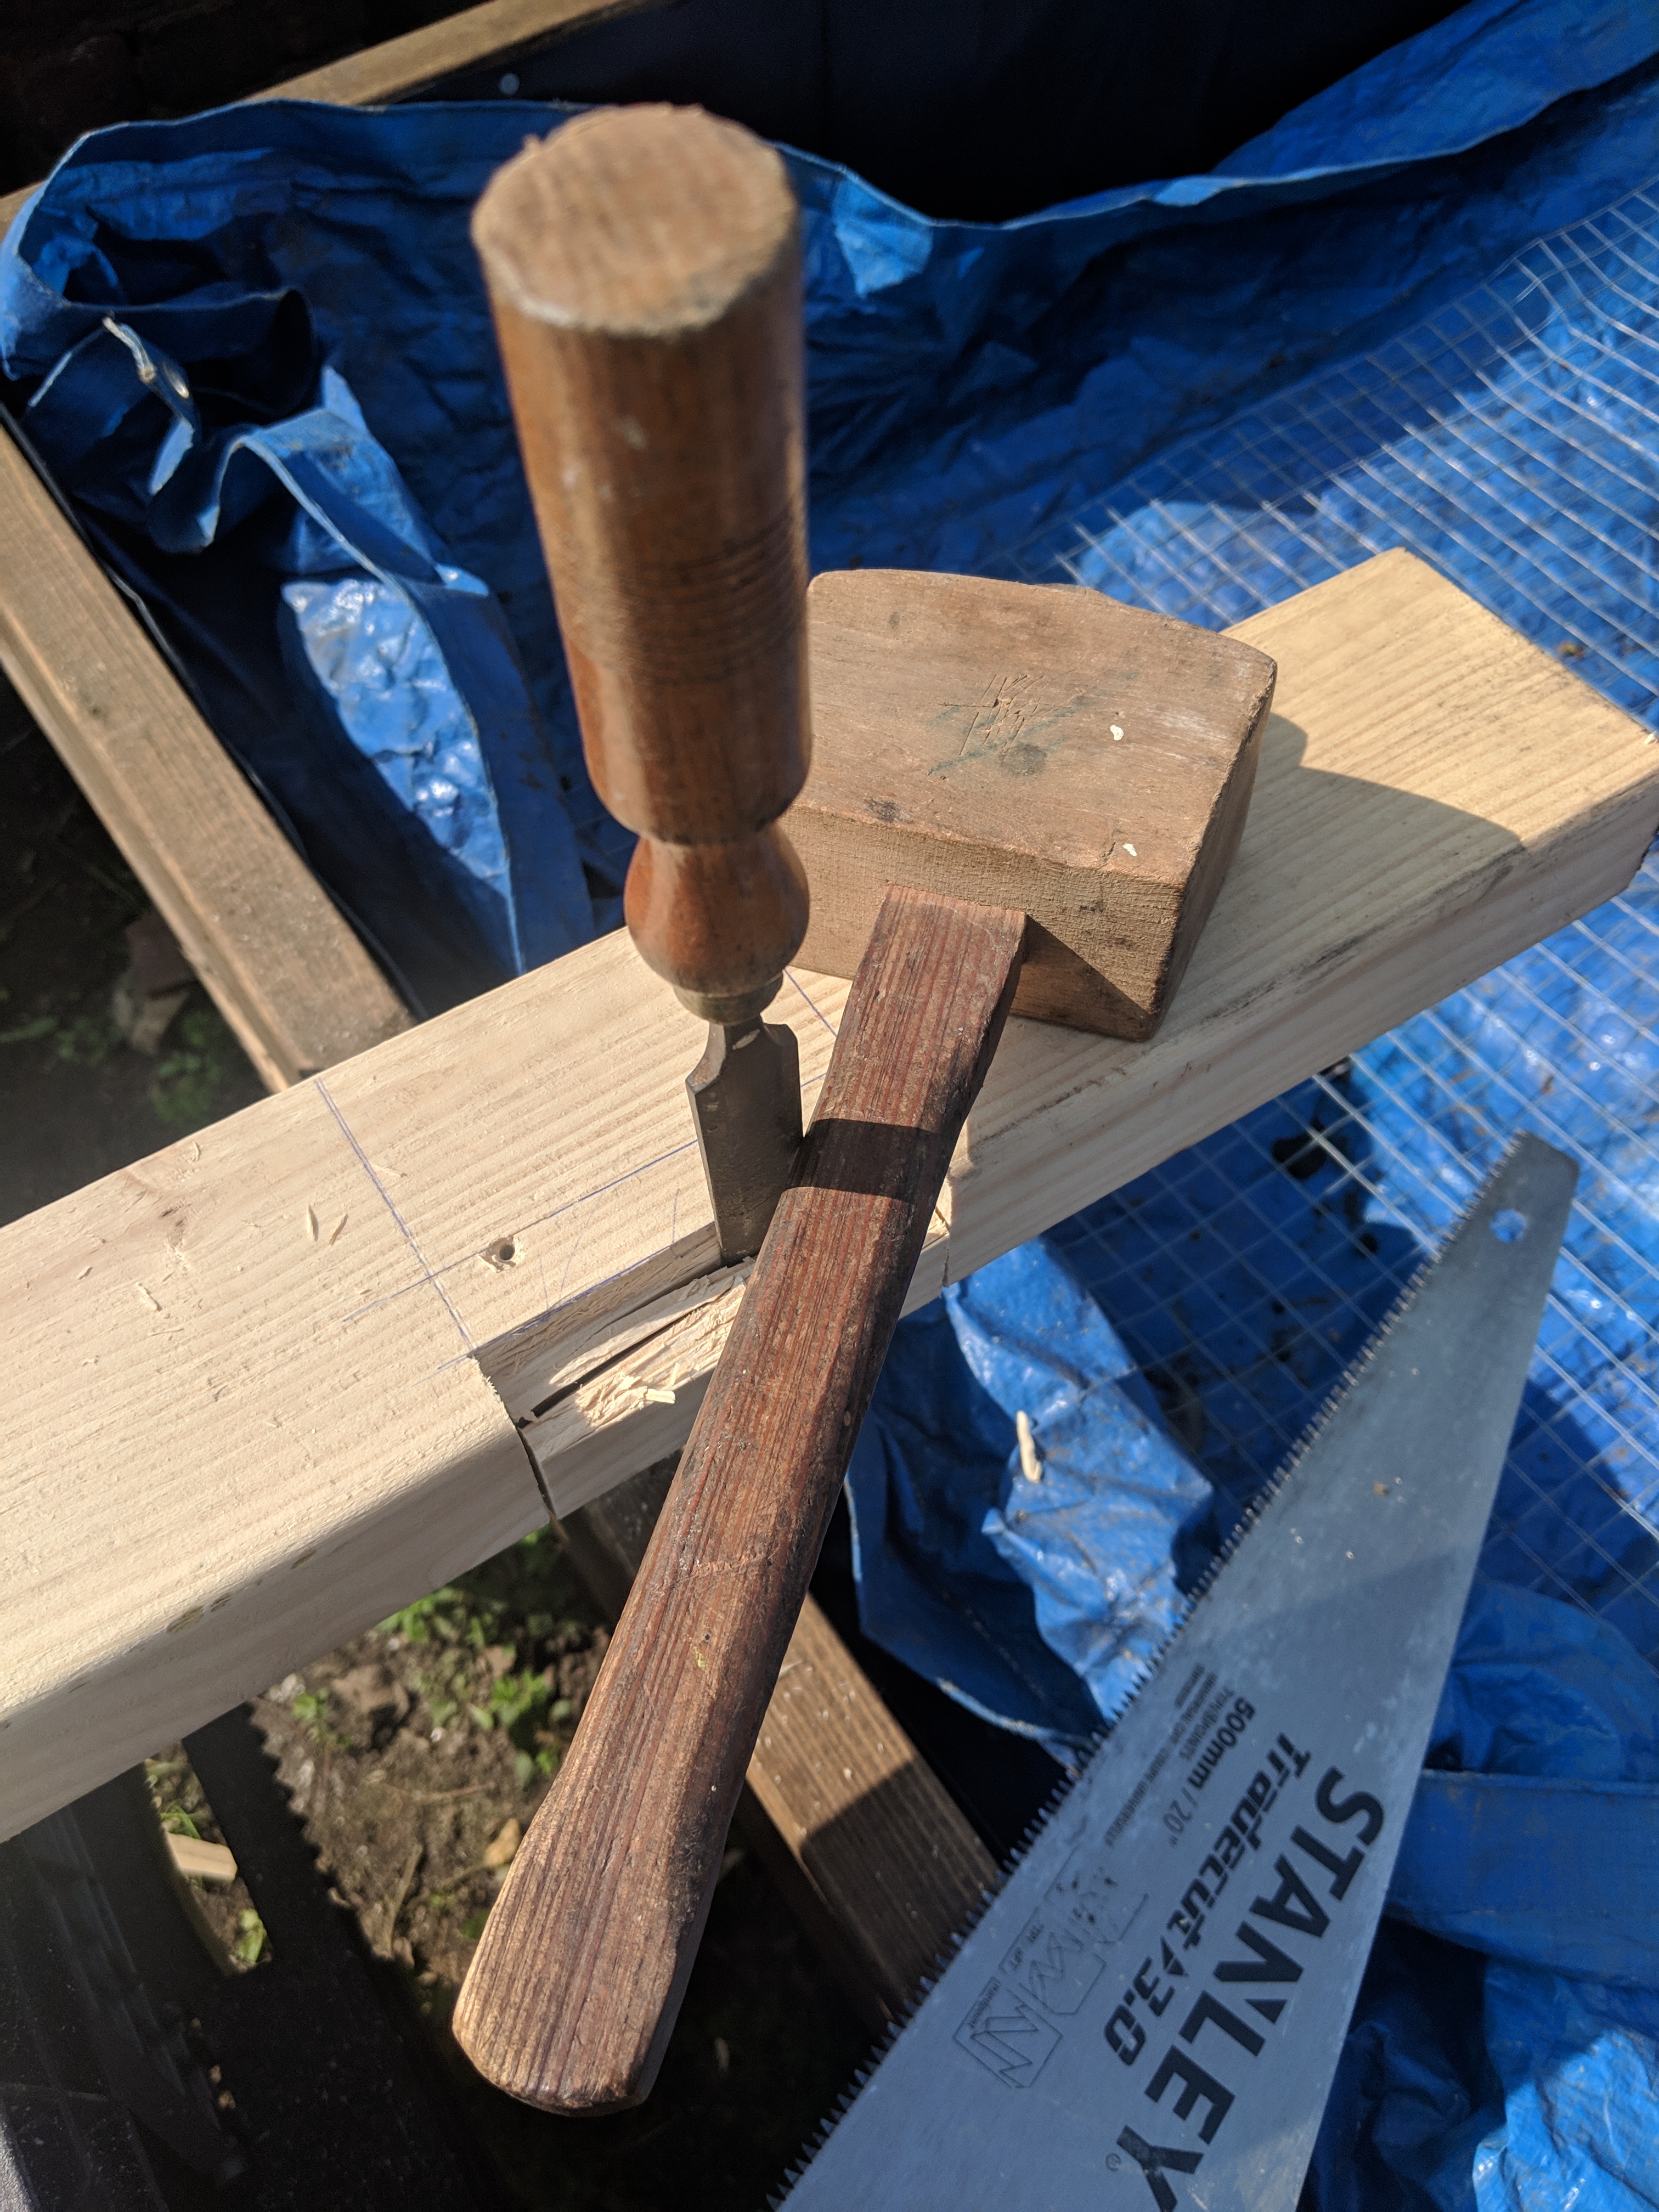
The roof was built with a slight slope to help rainwater drain and nailed into place. Again, I had to be mindful of height (again to account for the 2.5m maximum size for permitted development). This meant having to notch the roofing joists. The chisel and mallet had been donated by the uncle of my friend Andy- I was happy to put them to good use.

Once this was done, we used the donated (thanks, Mr Sam) housewrap to add a breathable surface to the outside of the OSB. This is waterproof, but also breathable which means there’s no real rush to get the cladding on now. This was stapled into place (adding the bottom layer first and then the second overlapping this, above) and then the building was ready for the windows and doors.
For the windows, I firstly removed the glass using a glazing tool I found on eBay (https://www.ebay.co.uk/itm/Double-Glazing-Tool-Xpert-Chisel-Putty-Knife-32mm-Scraper-Bead-Removal-Tool-/262762244077) .
Make sure you label the windows and the stuff that comes out of them- this makes it much easier when you come to refitting them. I just wrote on some green tape top and bottom and which side they were from.


The gaps around the edge were then filled with expanding foam.
The process was repeated with the doors (though much heavier!) and it’s starting to look like a real building!


The EPDM roof has arrived (brilliant stuff from Rubber4Roofs https://www.ebay.co.uk/itm/RUBBER-ROOFING-KIT-FOR-FLAT-ROOFS-INCLUDES-EPDM-MEMBRANE-AND-ADHESIVES/282778310831?hash=item41d6e698af:m:mrU7ErepwtCCpw5nqG6EORQ&frcectupt=true)and has been laid on the roof. It’ll be glued later this weekend.
Also, this arrived this week… it’s been a welcome distraction from mountains of other work and it’s packed with some excellent ideas and examples of other outdoor shed projects.
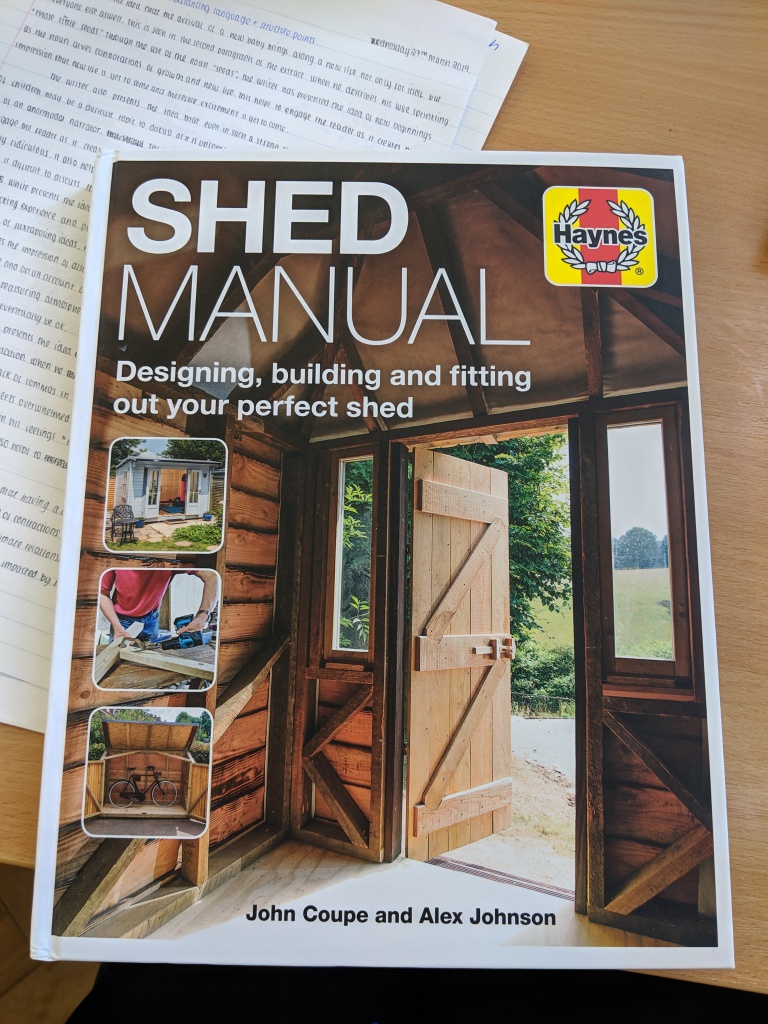
Really wish I had come across this book sooner as I probably would have been a little more adventurous with the style of roof and some of the other designs for the office- but this is a great read and takes you through the specifics, regardless of your experience.

This Friday, the electrician is coming to fit the Cat5 cable and the armoured electrical mains cable which will run from the house. As soon as that’s done, we’ll be ready to add the drywall and skim it. I did a Level 1 Plastering Course a couple of years ago at a night school at a local college, so I’m looking forward to dusting off the tools next weekend! Easter holidays can’t come soon enough!

LOVE this – please get some fairy lights too xxxx
LikeLike
Haha, of course Jen. You guys can come round and cut the ribbon 😛 xxx
LikeLike
We can exchange shed stories – my office is in the front garden. Covered the floor with a layer of uni click floor boards – helped insulate- one small delonghi rad keeps it warm all winter!
Well done you for the build- happy shed!! Yvonne x
LikeLike
Looks great! What a lot of hard work you’ve put it. X
LikeLike
Am reading this after (over) preparing the shed base during lockdown. Please say you have further updates to the finished shed! Inspirational.
LikeLike
Hi Alan! Yes, I’m sat in it right now! There’s another update on the blog… It’s called ‘Shedquarters’ part 1 and part 2
LikeLike